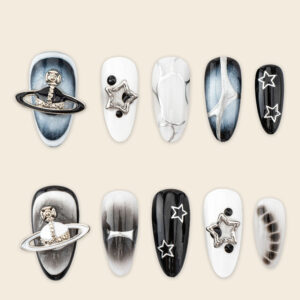
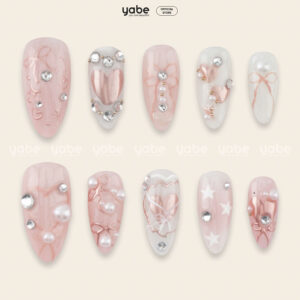
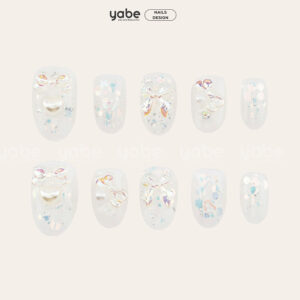
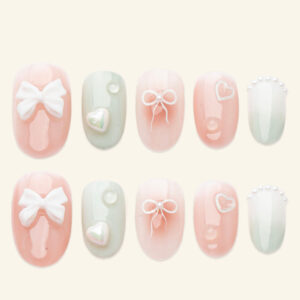
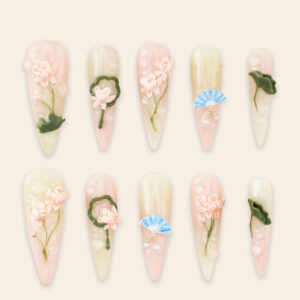
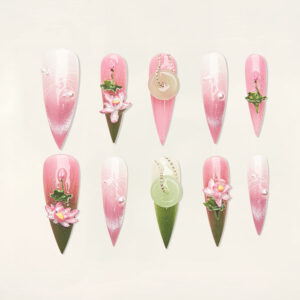
Press-on nails revolutionize DIY manicures, making achieving salon-quality nails at home easier. But knowing exactly how to apply press on nails correctly can be the difference between gorgeous, durable nails and frustrating failures. This step-by-step guide will walk you through the process to ensure your nails look professional and stay put.
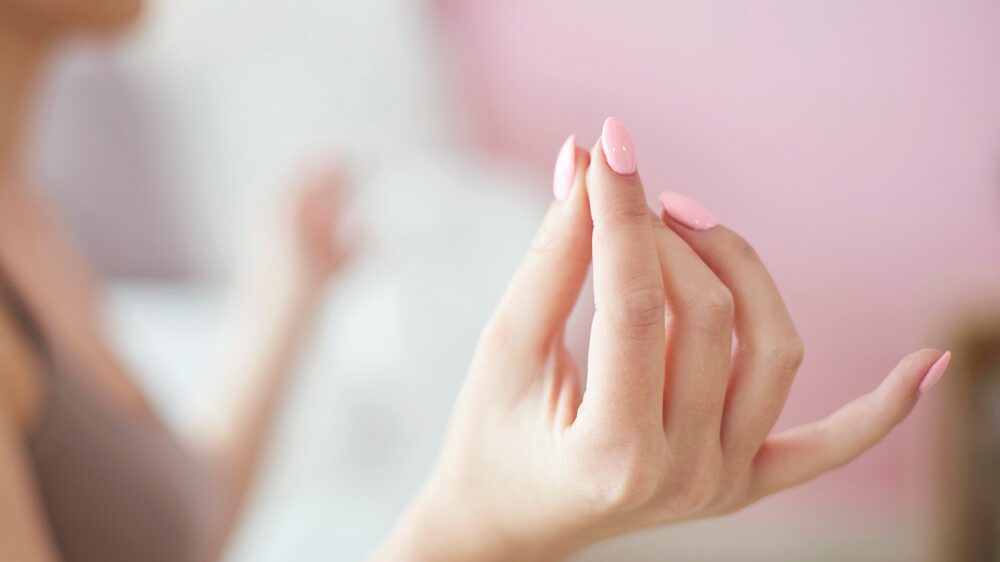
Why Choose Press-On Nails for Your DIY Manicure?
Before diving into the application, understanding why press-on nails are a fantastic choice can boost your confidence and motivate you to master the process.
Convenience and Quick Application
One of the standout benefits of press-on nails is the sheer convenience. Applying them requires minimal time compared to traditional nail polish or acrylic nails. Press-ons can transform your nails from plain to spectacular in less than 30 minutes, making them perfect for busy lifestyles or last-minute events.
Cost Efficiency and Variety of Styles
Press-on nails offer exceptional value for money. Unlike expensive salon visits, you get multiple manicures from one affordable set. Moreover, an endless array of styles, colors, and designs is available, allowing you to switch up your look frequently without breaking the bank.
Tools You Need for Perfect Press-On Nails
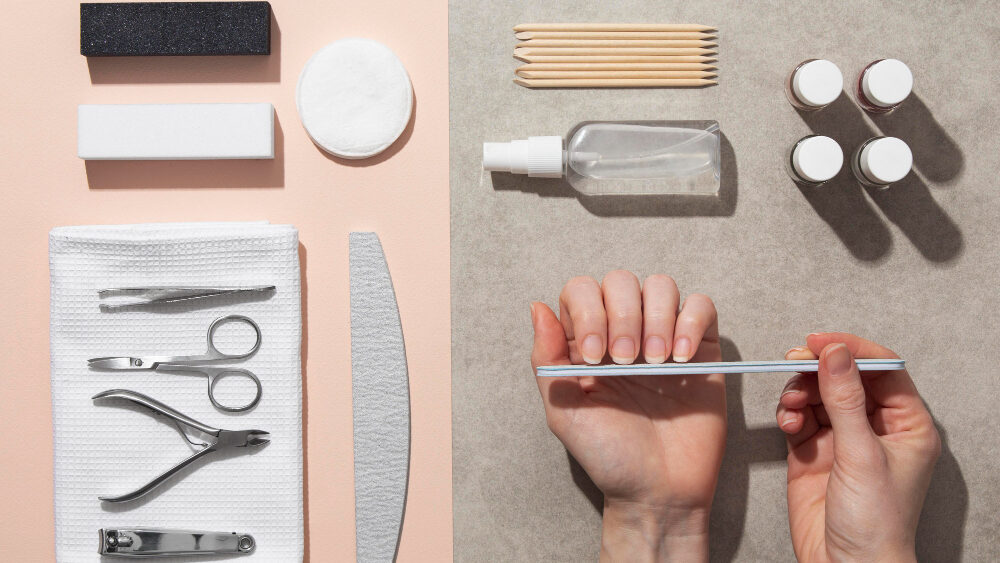
To achieve flawless results, ensure you have all the necessary tools and optional accessories.
Essential Tools and Supplies
- Nail file and buffer
- Nail glue or adhesive tabs
- Cuticle pusher
- Alcohol wipes or nail polish remover
- Press-on nail set of your choice
Optional Accessories for Enhanced Application
- Tweezers for precise placement
- Nail scissors or clippers for adjustments
- Clear topcoat for added durability and shine
Step 1: Prepare Your Natural Nails
Preparation is key to ensuring press-ons adhere properly and last longer.
Cleaning and Removing Old Nail Polish
Begin by removing any existing polish or residue from your nails using nail polish remover or alcohol wipes. This step is crucial for achieving optimal adhesion.
Cuticle Care and Shaping Nails
Gently push back your cuticles with a cuticle pusher and trim excess skin. Shape your natural nails neatly to match the shape of your press-ons, creating a polished, uniform look.
Buffing and Smoothing for Better Adhesion
Use a nail buffer to smooth your nails and remove oils. Buffing creates a slightly textured surface that improves the adhesive’s hold, ensuring your nails last longer.
Top-rated products
-
Sky Mist Glow
$ 9,00 -
Cosmic Twilight Glam
$ 19,00 -
Rosé Elegance Whisper
$ 19,00 -
Frosted Bloom Elegance
$ 12,00 -
Celestial Prism Glow
$ 9,00 -
Holiday Cozy Cheer
$ 9,00 -
Sweet Embrace
$ 9,00 -
Blossom Petal Daydream
$ 9,00
Step 2: Select the Right Size Press-On Nails
Selecting the right size nail for each finger guarantees comfort and long-lasting results.
Measuring and Matching Sizes
Press-on sets usually include multiple sizes. Hold each nail over your natural nails, selecting those that closely match the width of your nail beds without overlapping or leaving gaps.
Tips for Customizing Nail Fit
If your press-ons don’t fit perfectly, gently file the edges or trim with nail scissors for an exact fit.

Step 3: Apply Adhesive Correctly
Choosing the right adhesive and applying it properly ensures your nails won’t pop off prematurely.
Choosing Between Nail Glue and Adhesive Tabs
Nail glue provides stronger, longer-lasting adhesion and is suitable for extended wear, whereas adhesive tabs offer temporary, gentle adhesion for short-term use or special occasions.
Correct Technique for Applying Adhesives
- For glue: Apply a thin, even layer directly onto your natural nail and the back of the press-on.
- For tabs: Carefully place the adhesive tab onto your nail first, ensuring no air bubbles.
Step 4: Attaching Your Press-On Nails
Accuracy and pressure matter during this crucial step.
Proper Alignment and Placement Technique
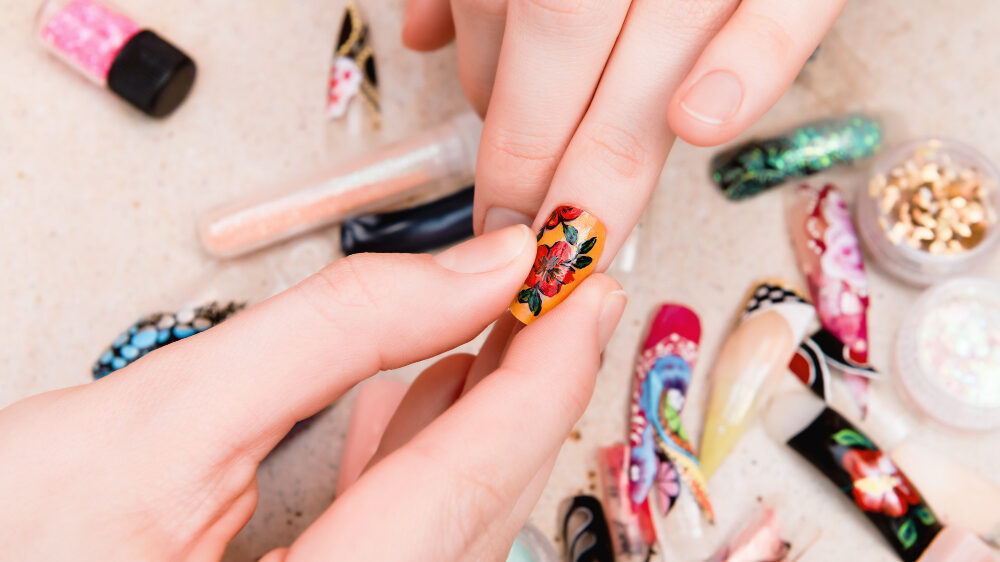
Position each press-on nail above your cuticle line and gently press it downward onto your nail bed to avoid air bubbles.
Firmly Pressing for Secure Adhesion
Press down and hold each nail for 15-20 seconds, allowing the adhesive to set firmly.

Step 5: Finalizing the Application
Polishing your press-ons ensures they look professionally applied.
Filing and Shaping Press-On Nails
Use a nail file to refine edges and shape, and adjust the length as desired.
Applying Top Coat for Longevity and Shine
A clear topcoat enhances durability, prevents chipping, and adds a glossy, professional finish.
Aftercare and Maintenance Tips
Proper care is needed to maintain the beauty and longevity of your press-on nails. Implementing a simple daily care routine and knowing quick fixes will keep your nails looking fabulous.
Daily Care Routine for Long-Lasting Nails
- Always wear gloves to avoid prolonged water exposure while doing dishes, cleaning, or other wet tasks. Frequent moisture weakens the adhesive bond, leading to early lifting.
- Apply cuticle oil regularly: Nourishing your cuticles daily keeps them healthy and prevents dryness, which can help maintain the bond of your press-on nails.
- Use hand lotion: Moisturized hands improve overall nail health and appearance.
- Regular touch-ups with topcoat: Reapplying a topcoat every 2-3 days helps maintain shine and durability and provides additional protection.
Quick Fixes for Common Press-On Nail Problems
- Loose nail: Apply a small drop of nail glue beneath the lifted area, press down firmly for 10 seconds, and it’ll quickly secure back into place.
- Lost nail: Always carry spare adhesive tabs and a spare nail. Quick replacements can save you from any manicure mishaps.
Troubleshooting Common Application Issues
Even the best-laid plans can occasionally encounter issues. Here’s how to handle them swiftly and effectively.
How to Handle Lifting or Misaligned Nails
- If you notice slight lifting, gently apply additional glue under the nail and hold firmly to reset it.
- For misalignment, gently remove the nail if the glue hasn’t fully dried. Clean both surfaces and reapply.
Solutions for Weak Adhesion or Early Fall-Offs
- Ensure thorough nail prep: Oils left on nails often cause weak adhesion. Buff your nail surface lightly and cleanse with alcohol or nail polish remover.
- Check adhesive quality: Switch to a stronger glue or high-quality adhesive tabs if problems persist.
- Allow longer drying time: Extend pressing time slightly to guarantee secure bonding.
Safety Precautions and Tips
Safety is crucial to preserving your natural nail health and ensuring a positive DIY experience.
Avoiding Damage to Natural Nails
- Gentle removal: Never pull or force nails off; this can peel or damage your natural nails. Always soak and ease nails off gently.
- Adequate breaks between applications: Allow at least 24-48 hours between manicures to help your nails breathe and recover.
Recommended Frequency for Nail Applications
Limit press-on nail applications to no more than twice a month for continuous use, allowing adequate recovery time between sets. Regular breaks will preserve your natural nail integrity.
Frequently Asked Questions (FAQs)
-
How long does applying press-on nails at home usually take?
Applying press-on nails at home typically takes about 20-30 minutes from preparation to finish.
-
Can I reuse press-on nails after removal?
Press-on nails can be reused multiple times if carefully removed and properly cleaned.
-
What’s better—glue or adhesive tabs?
Glue is best for longevity, typically lasting 1-2 weeks. Adhesive tabs are ideal for temporary wear lasting 1-2 days.
-
Can press-on nails damage my real nails?
Properly applied and removed press-on nails are safe and will not damage your natural nails.
-
How do I make press-on nails look natural?
For a more realistic appearance, select nails close to your natural nail shape, file edges gently, and avoid overly thick nails.
-
What should I do if glue gets on my skin?
Immediately wash the area with warm, soapy water or use an acetone-soaked cotton ball to gently remove glue from your skin.
Conclusion: Achieving Flawless Press-On Nails at Home
Now you’re ready to master the art of effortlessly applying press-on nails at home. With detailed preparation, proper application, and vigilant aftercare, your nails will always look salon-perfect. Embrace the convenience, creativity, and confidence of doing your beautiful DIY manicures—anytime, anywhere!


