Press-on nails have come a long way, and if you’re looking to achieve a salon-quality manicure at home, Olive and June press-ons are one of the most trusted names in the game. Their kits are beginner-friendly, stylish, and damage-free when applied correctly. But to make them truly last and look flawless, there’s an art to the application.
In this guide on How to Use Olive and June Press On Nails Like a Pro, we’ll show you how to get the most out of your press-ons.

Whether you’re new to press-ons or just want longer wear and a perfect fit, this Olive and June nail tutorial on How to Use Olive and June Press On Nails Like a Pro will walk you through every step. Plus, we’ll share expert tips to help you apply them like a pro—even on your first try!
Why Olive and June Press-On Nails?
Before we jump into the “how,” here’s why so many beauty lovers swear by Olive and June:
- Trendy designs without the salon price tag
- 42 nail sizes for a customized fit
- Beginner-friendly kits with everything included
- Non-damaging glue for natural nails
- Quick application—just 15 minutes start to finish
What You’ll Need (Everything’s in the Kit!)
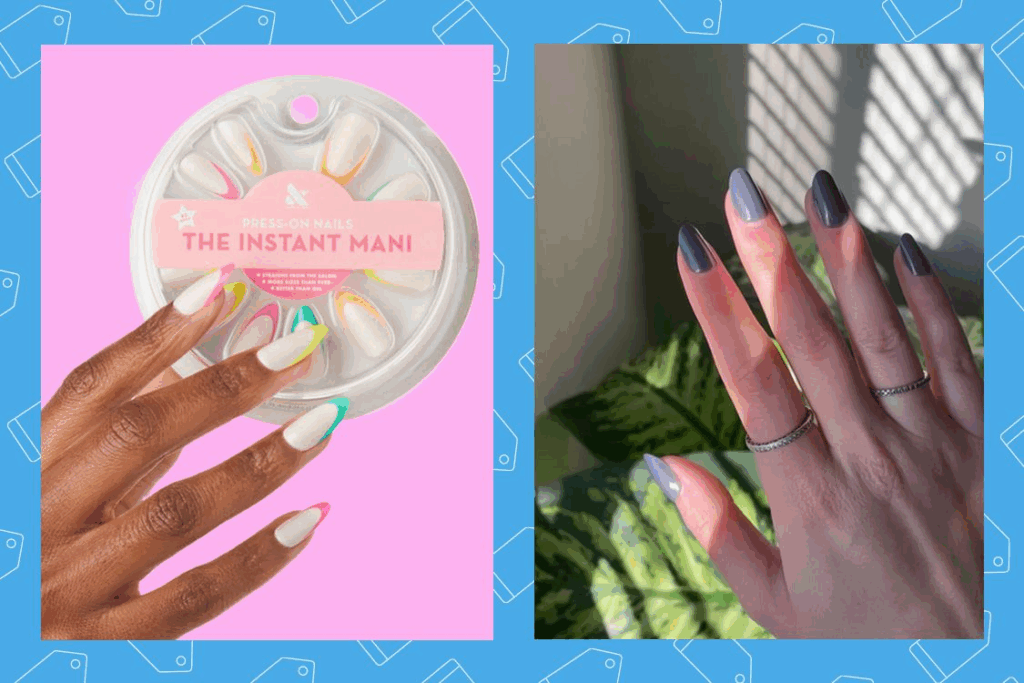
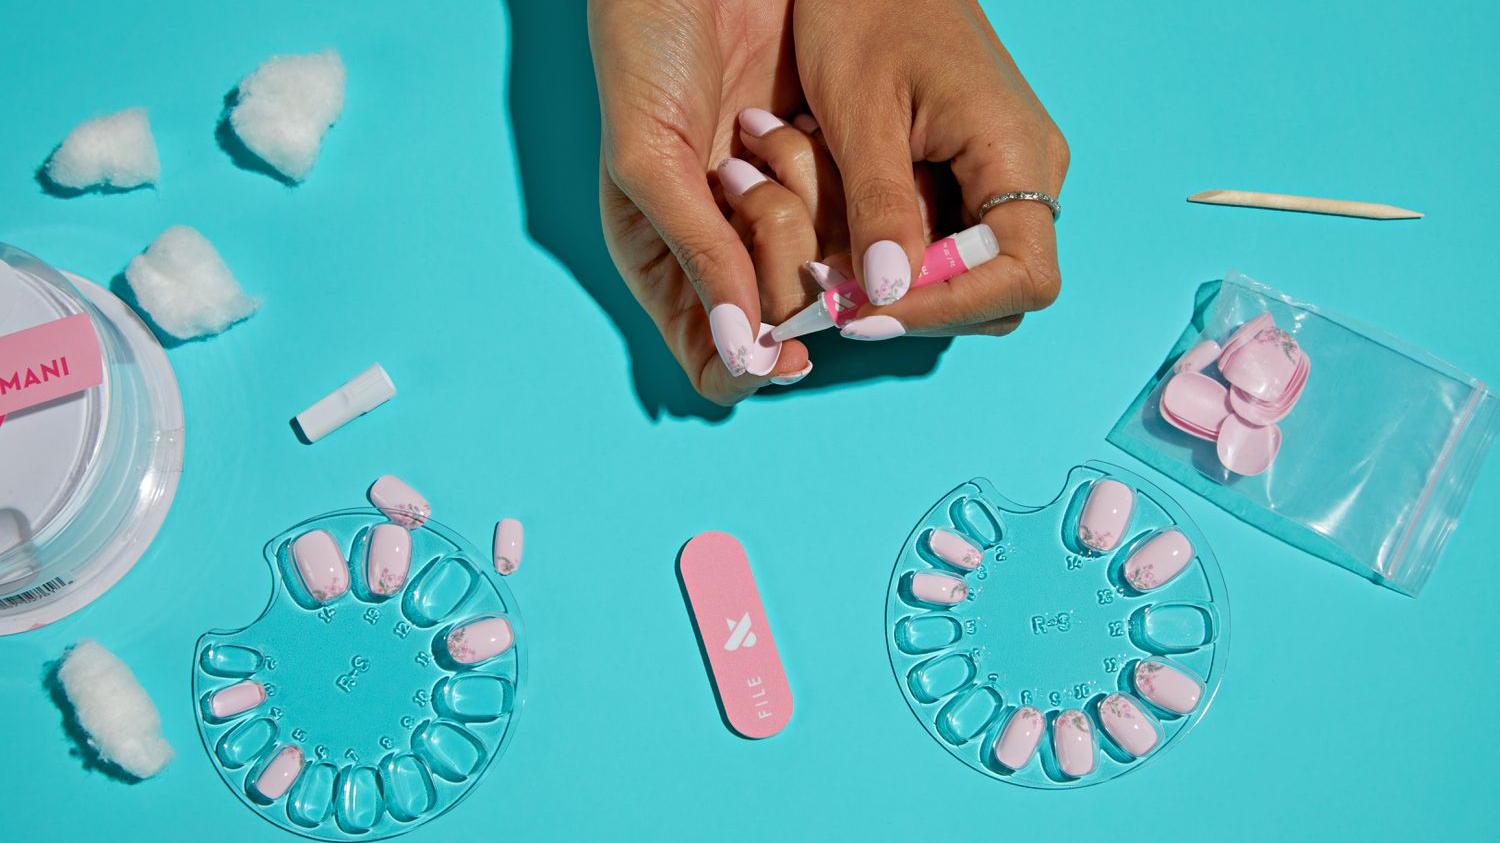
Every Olive and June press-on kit includes:
- 42 press-on nails (21 sizes per hand)
- Gentle nail glue
- Alcohol prep pad
- Cuticle pusher
- Nail file and buffer
- Instructions (but we’ll break it down even better!)
Optional extras for better results:
- Nail polish remover (for oil removal)
- Top coat (optional for shine & seal)

Step-by-Step: How to Apply Olive and June Press-On Nails
Step 1: Prep Your Natural Nails
Time: 2–3 minutes
- Remove any old polish.
- Wash hands with soap and water.
- Push back cuticles using the wooden stick.
- Lightly buff the surface of your nails.
- Wipe each nail with the alcohol pad to remove oils. Pro Tip: If your nails are oily, wipe with nail polish remover first for better glue hold.
Step 2: Size and Lay Out Your Press-Ons
Time: 3–4 minutes
- Match each press-on nail to the width of your natural nail.
- Lay them out in order (left pinky to thumb, then right pinky to thumb).
- If between sizes, go slightly smaller—it looks more natural and sticks better.
Step 3: Apply the Press-On Nails
Time: 10 minutes
- Apply a thin layer of glue to your natural nail.
- Optional: Add a dot of glue to the back of the press-on for stronger hold.
- Align the nail just above the cuticle, press down firmly for 30–60 seconds.
- Hold in place and apply pressure to prevent air bubbles.
💡 Bonus Tip: Start with your pinkies and work your way to your thumbs. That way, your thumbs are free to press everything down!
Step 4: Shape and Style (Optional)
- Once all nails are applied, file edges if needed.
- Add a top coat for shine and extra seal.
- Avoid water or oils for at least 1 hour after application.

How to Make Them Last Longer
Want your press-ons to stay put for up to 10 days? Here’s how:
- Avoid getting nails wet for the first hour
- Apply more glue at the tip if you’re hard on your hands
- Use gloves when doing dishes or cleaning
- Don’t use your nails as tools (e.g., for opening packages)
What Not to Do (Beginner Mistakes)
- Don’t skip cuticle prep—it affects adhesion
- Don’t use too much glue (can cause lifting or gaps)
- Don’t pick at the sides; lift = pop-offs
- Don’t soak in hot water or oil-based products within 2 hours of application.
Removal Tips (Safe & Damage-Free)
- Soak nails in warm, soapy water or cuticle oil
- Gently lift from the sides using the cuticle stick
- Never rip them off—this can damage your natural nails
- File off glue residue, and use a nail strengthener or serum afterward
Reusing Olive and June Press-On Nails: Is It Possible?
Yes, but only if you:
- Don’t apply too much glue
- Remove gently without bending
- Clean the underside of the nail with alcohol after removal
- Store the nails in the original box or a small case
💡Note: Reusability depends on how well the nails are removed and preserved.
Final Thoughts: Practice Makes Perfect
Applying Olive and June press-on nails is simple once you get the hang of it. With a little prep and the right glue technique, you can enjoy salon-level nails at home—without the mess or commitment.
Whether you’re prepping for an event or just want an easy beauty boost, Olive and June nails are a smart, beginner-friendly choice.

